¶ Setup your WhatsApp channel with Twilio API
QVOICE CX supports the official WhatsApp Business API. You can connect the phone number and start managing your WhatsApp customer queries from QVOICE CX. Follow the steps given below to enable your WhatsApp inbox with WhatsApp Cloud API.
¶ Prerequisites
¶ 1. Configure your Facebook Developer App
First, you need to create your Facebook Developer app, with WhatsApp Product enabled.
Once you finish this step, you can now configure your required phone numbers in the Twilio console.
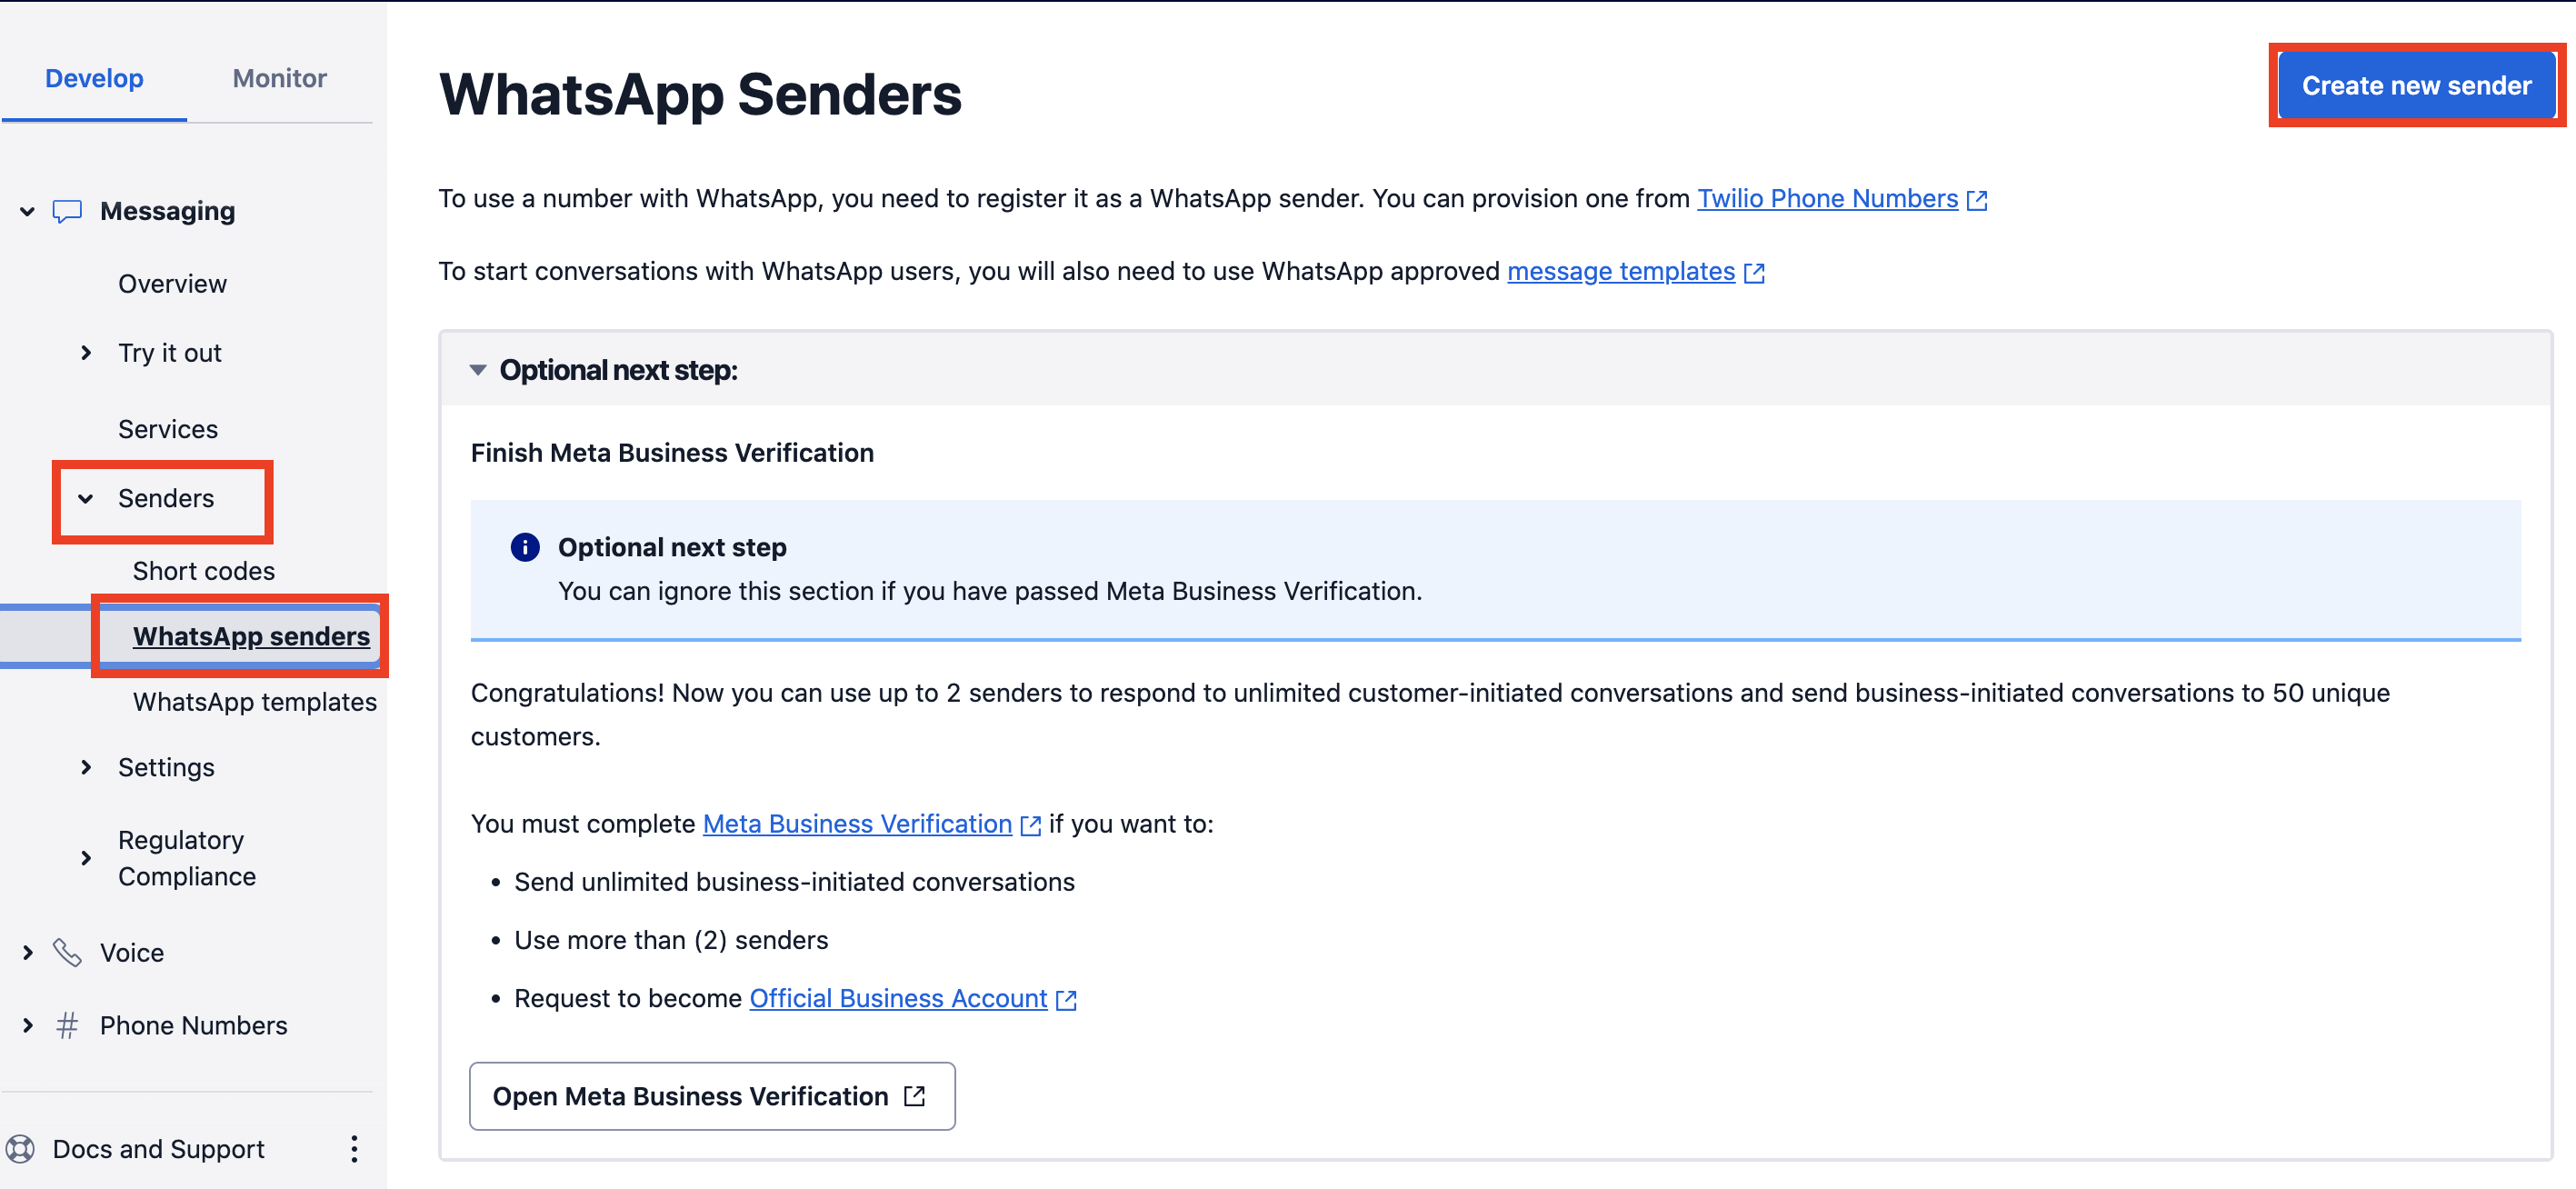
You must create a WhatsApp Senderas shown in the below screenshots. QVOICE CX will require Twilio API ID and Token values for creating the WhatsApp Inbox.
Step 1. Create a Whatsapp sender
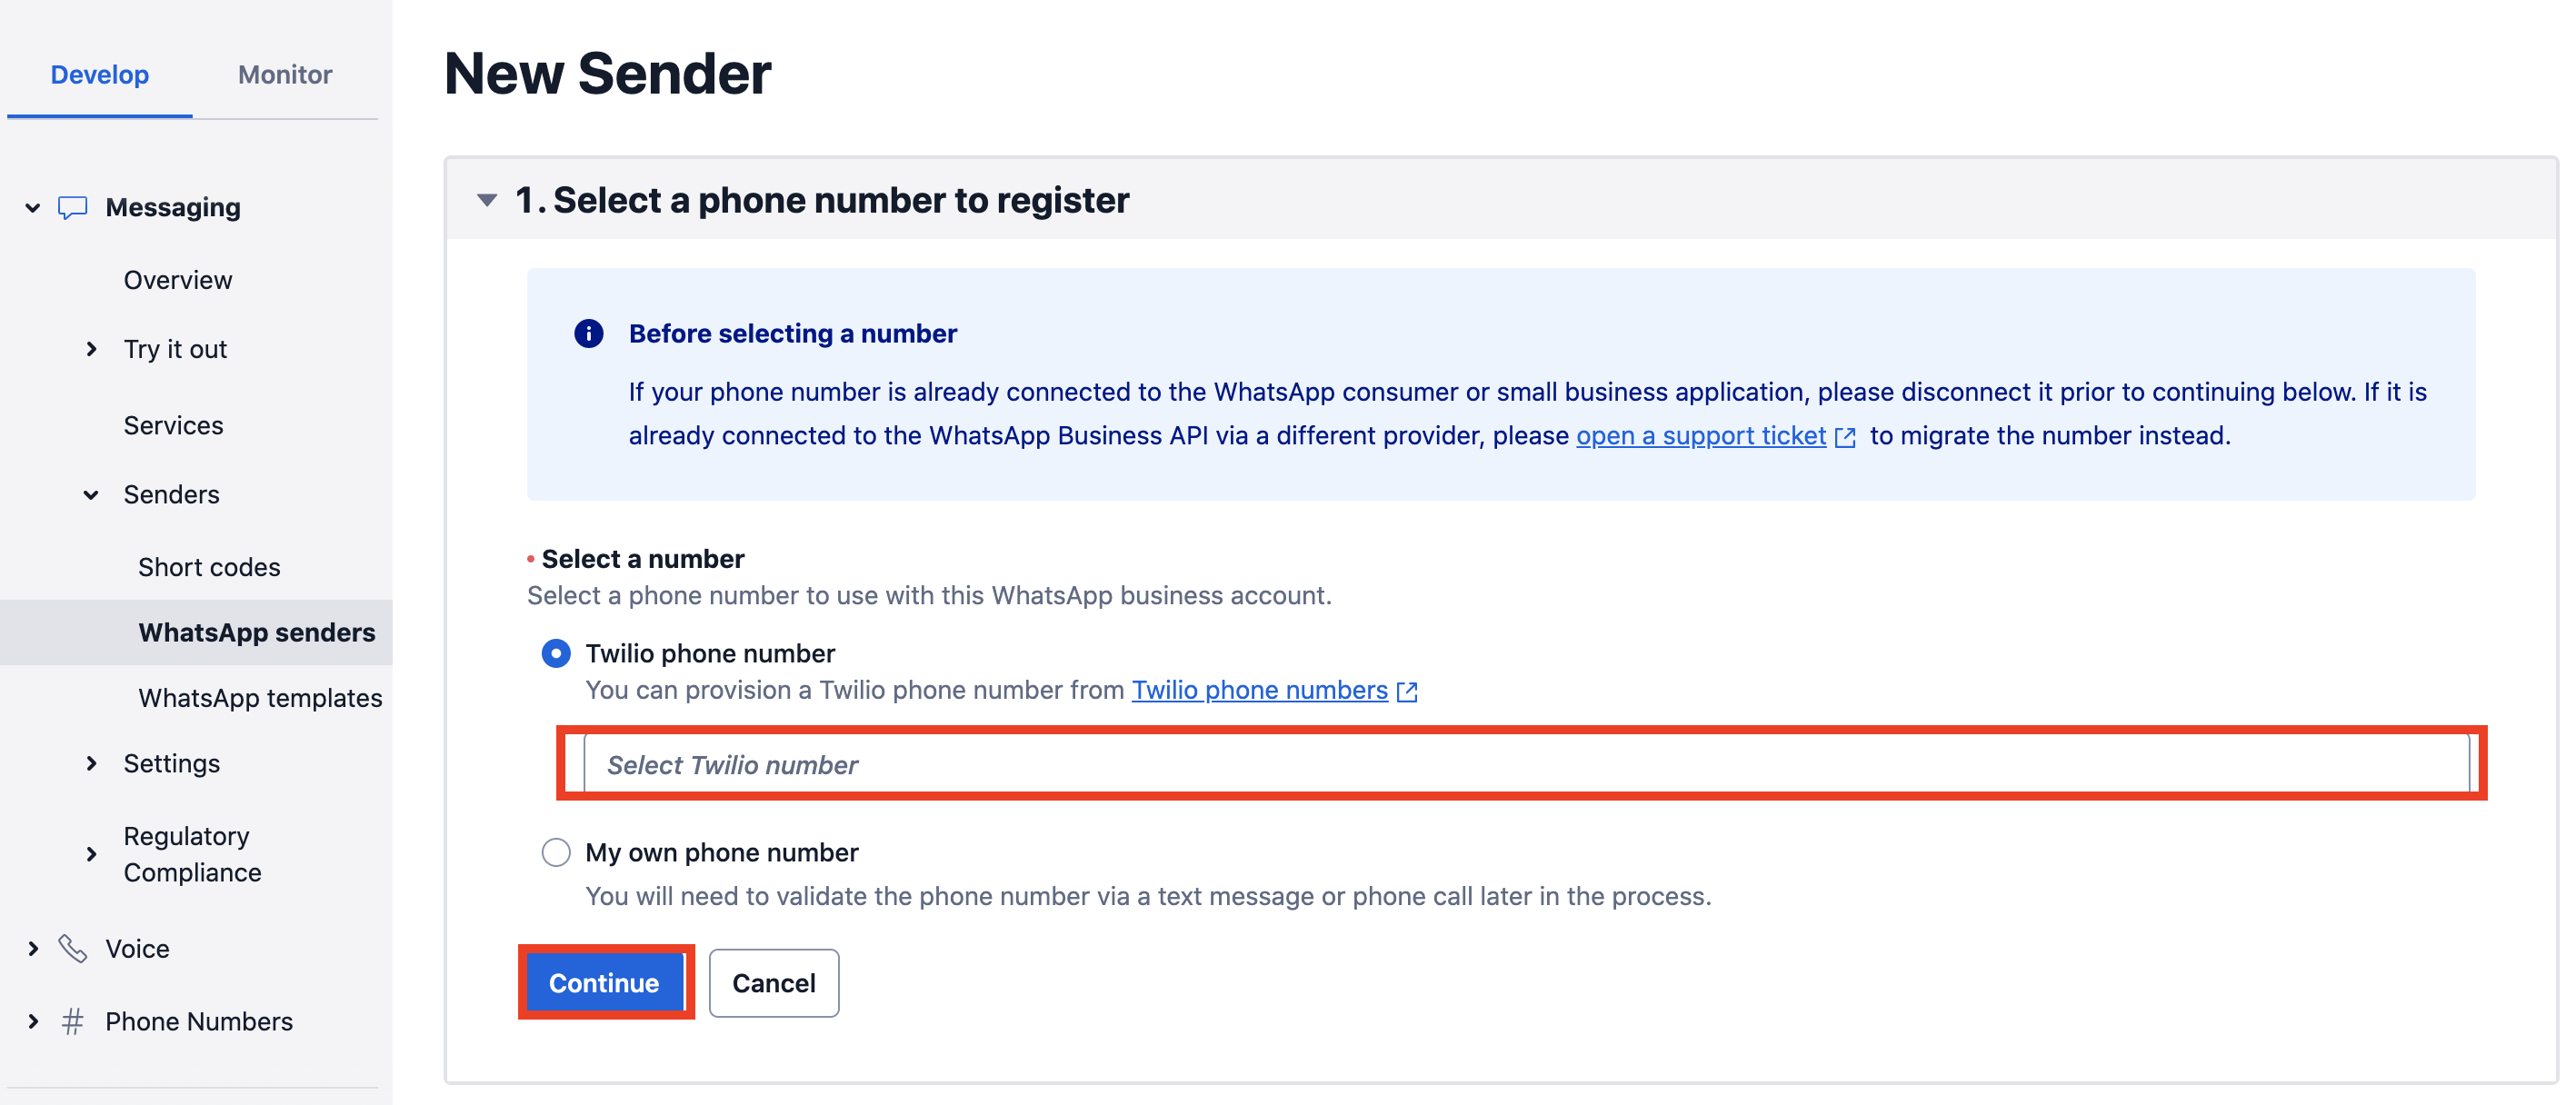
Step 2. Select the desired number to connect to Whatsapp
Step 3. Link WhatsApp with your number

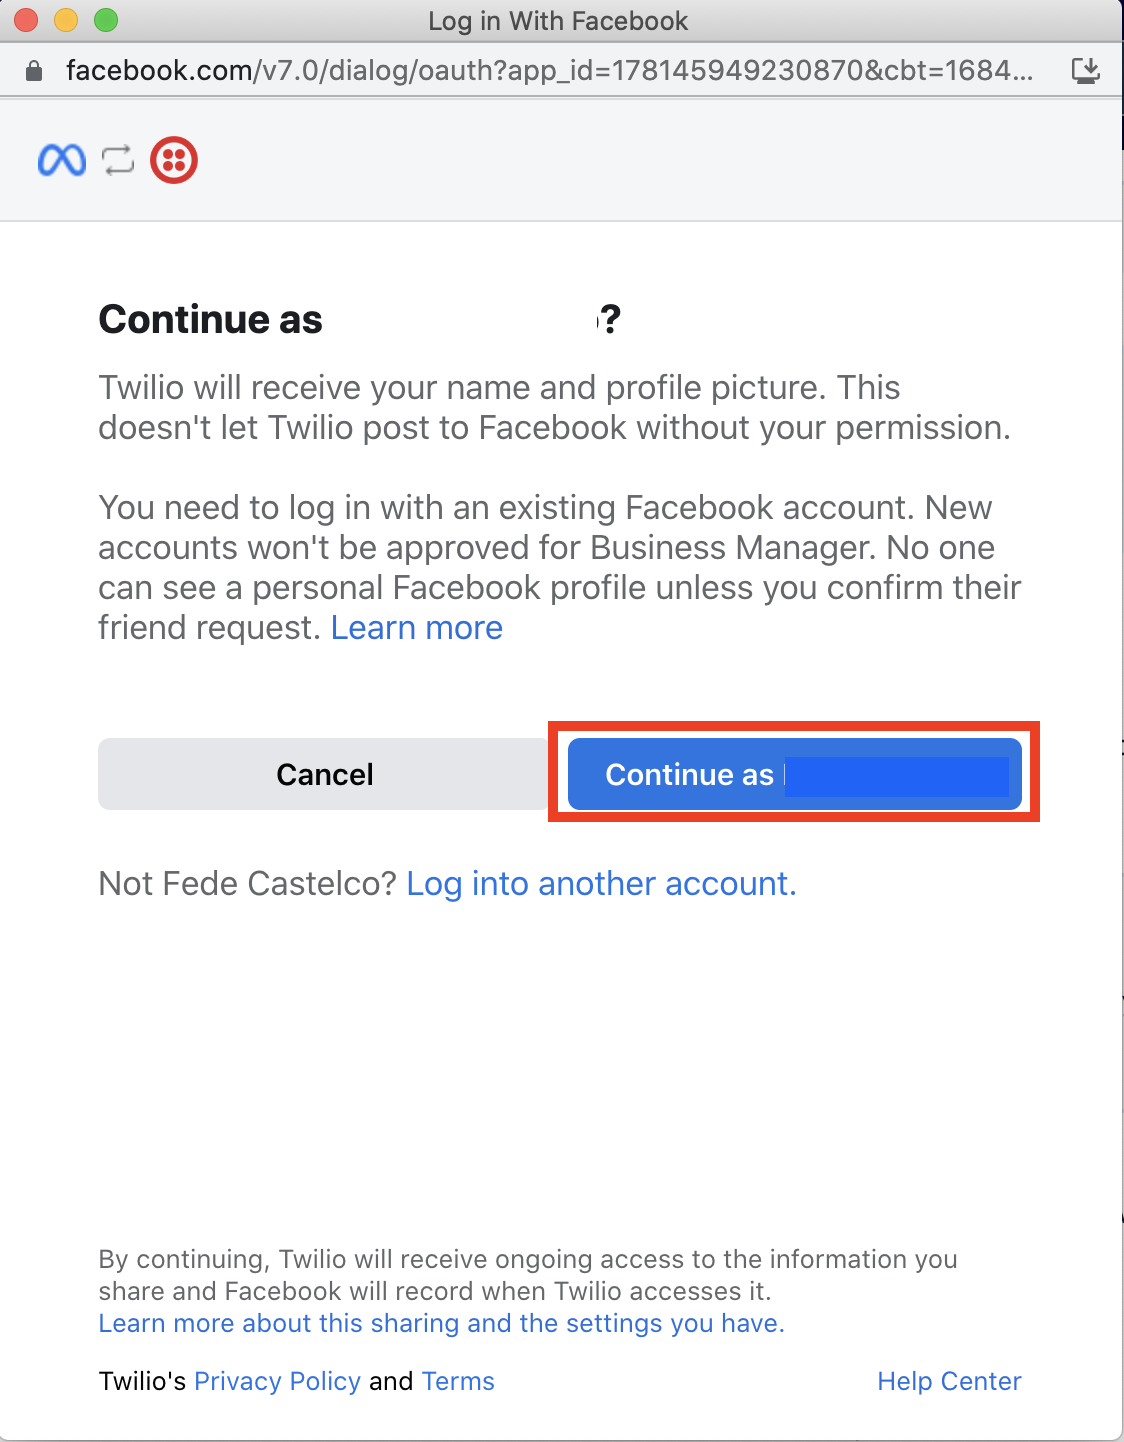
Step 4. Connect Twilio with your Meta developer account
Setup WhatsApp Inbox in QVOICE CX
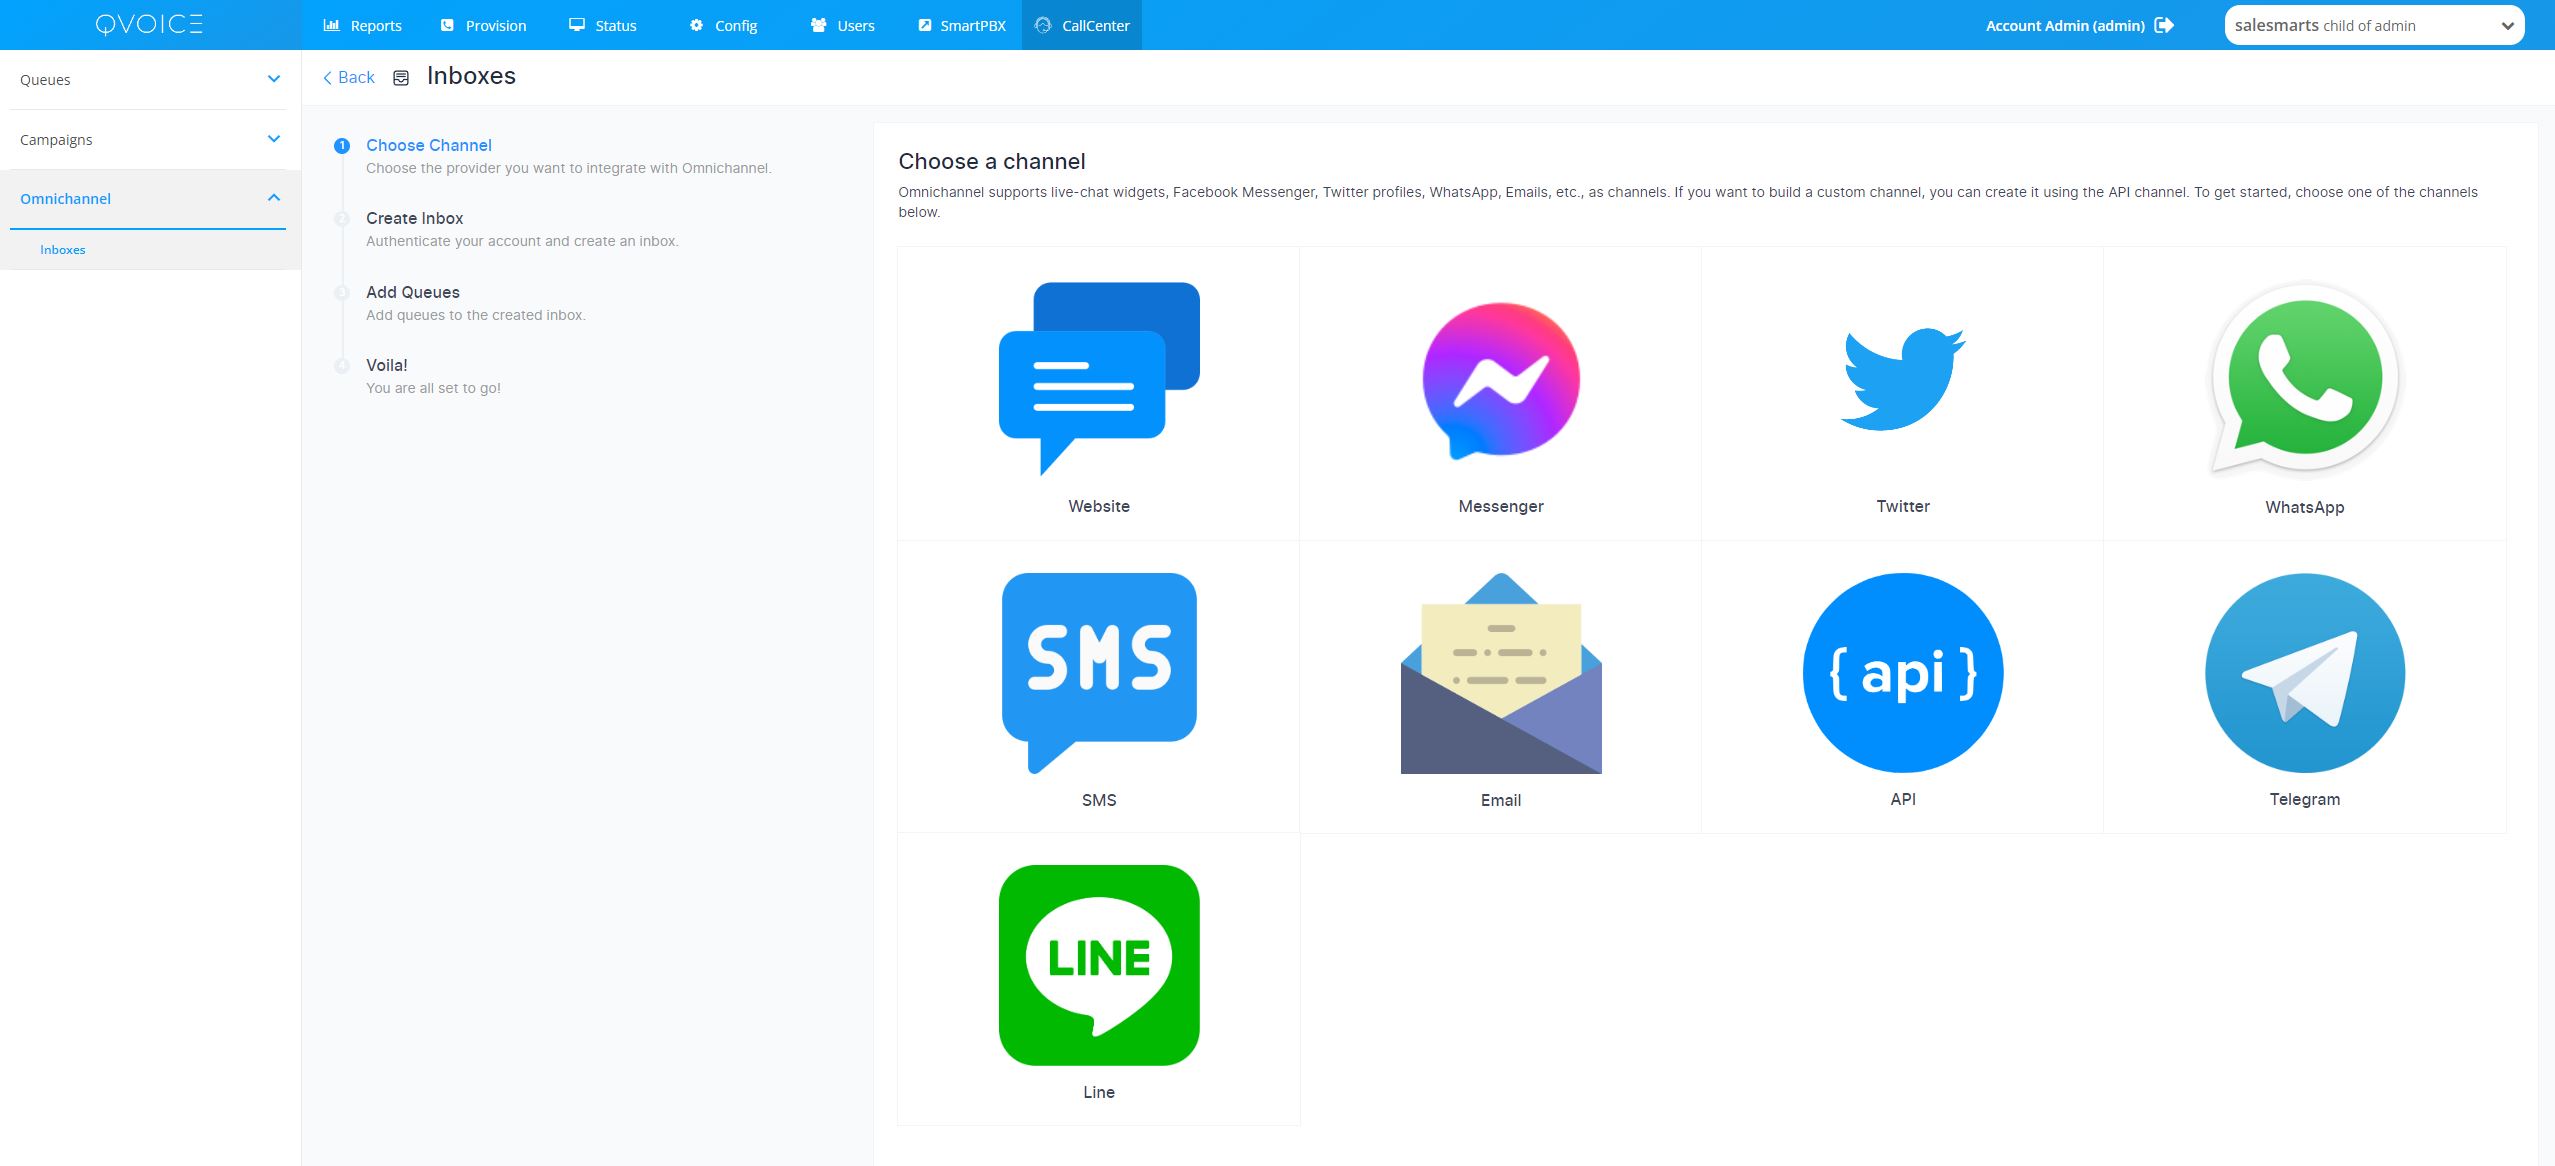
Step 1. Open your QVOICE CX Omni Channel Portal. Go to Call Center → Omni Channel → Inboxes → Add Inbox.
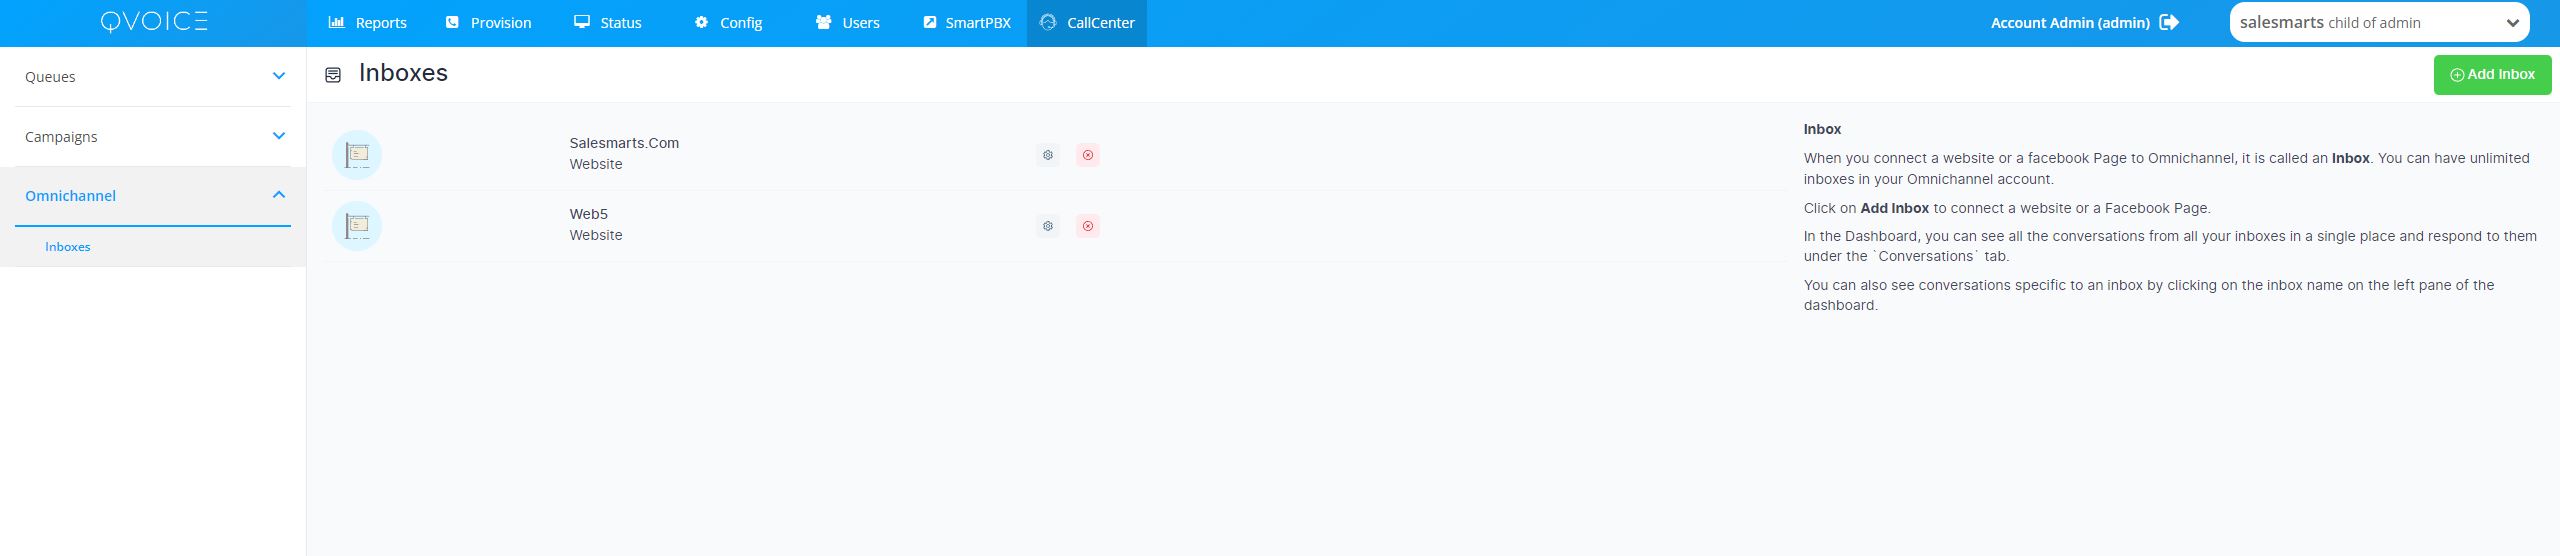
Step 2. Click on the "WhatsApp" icon.
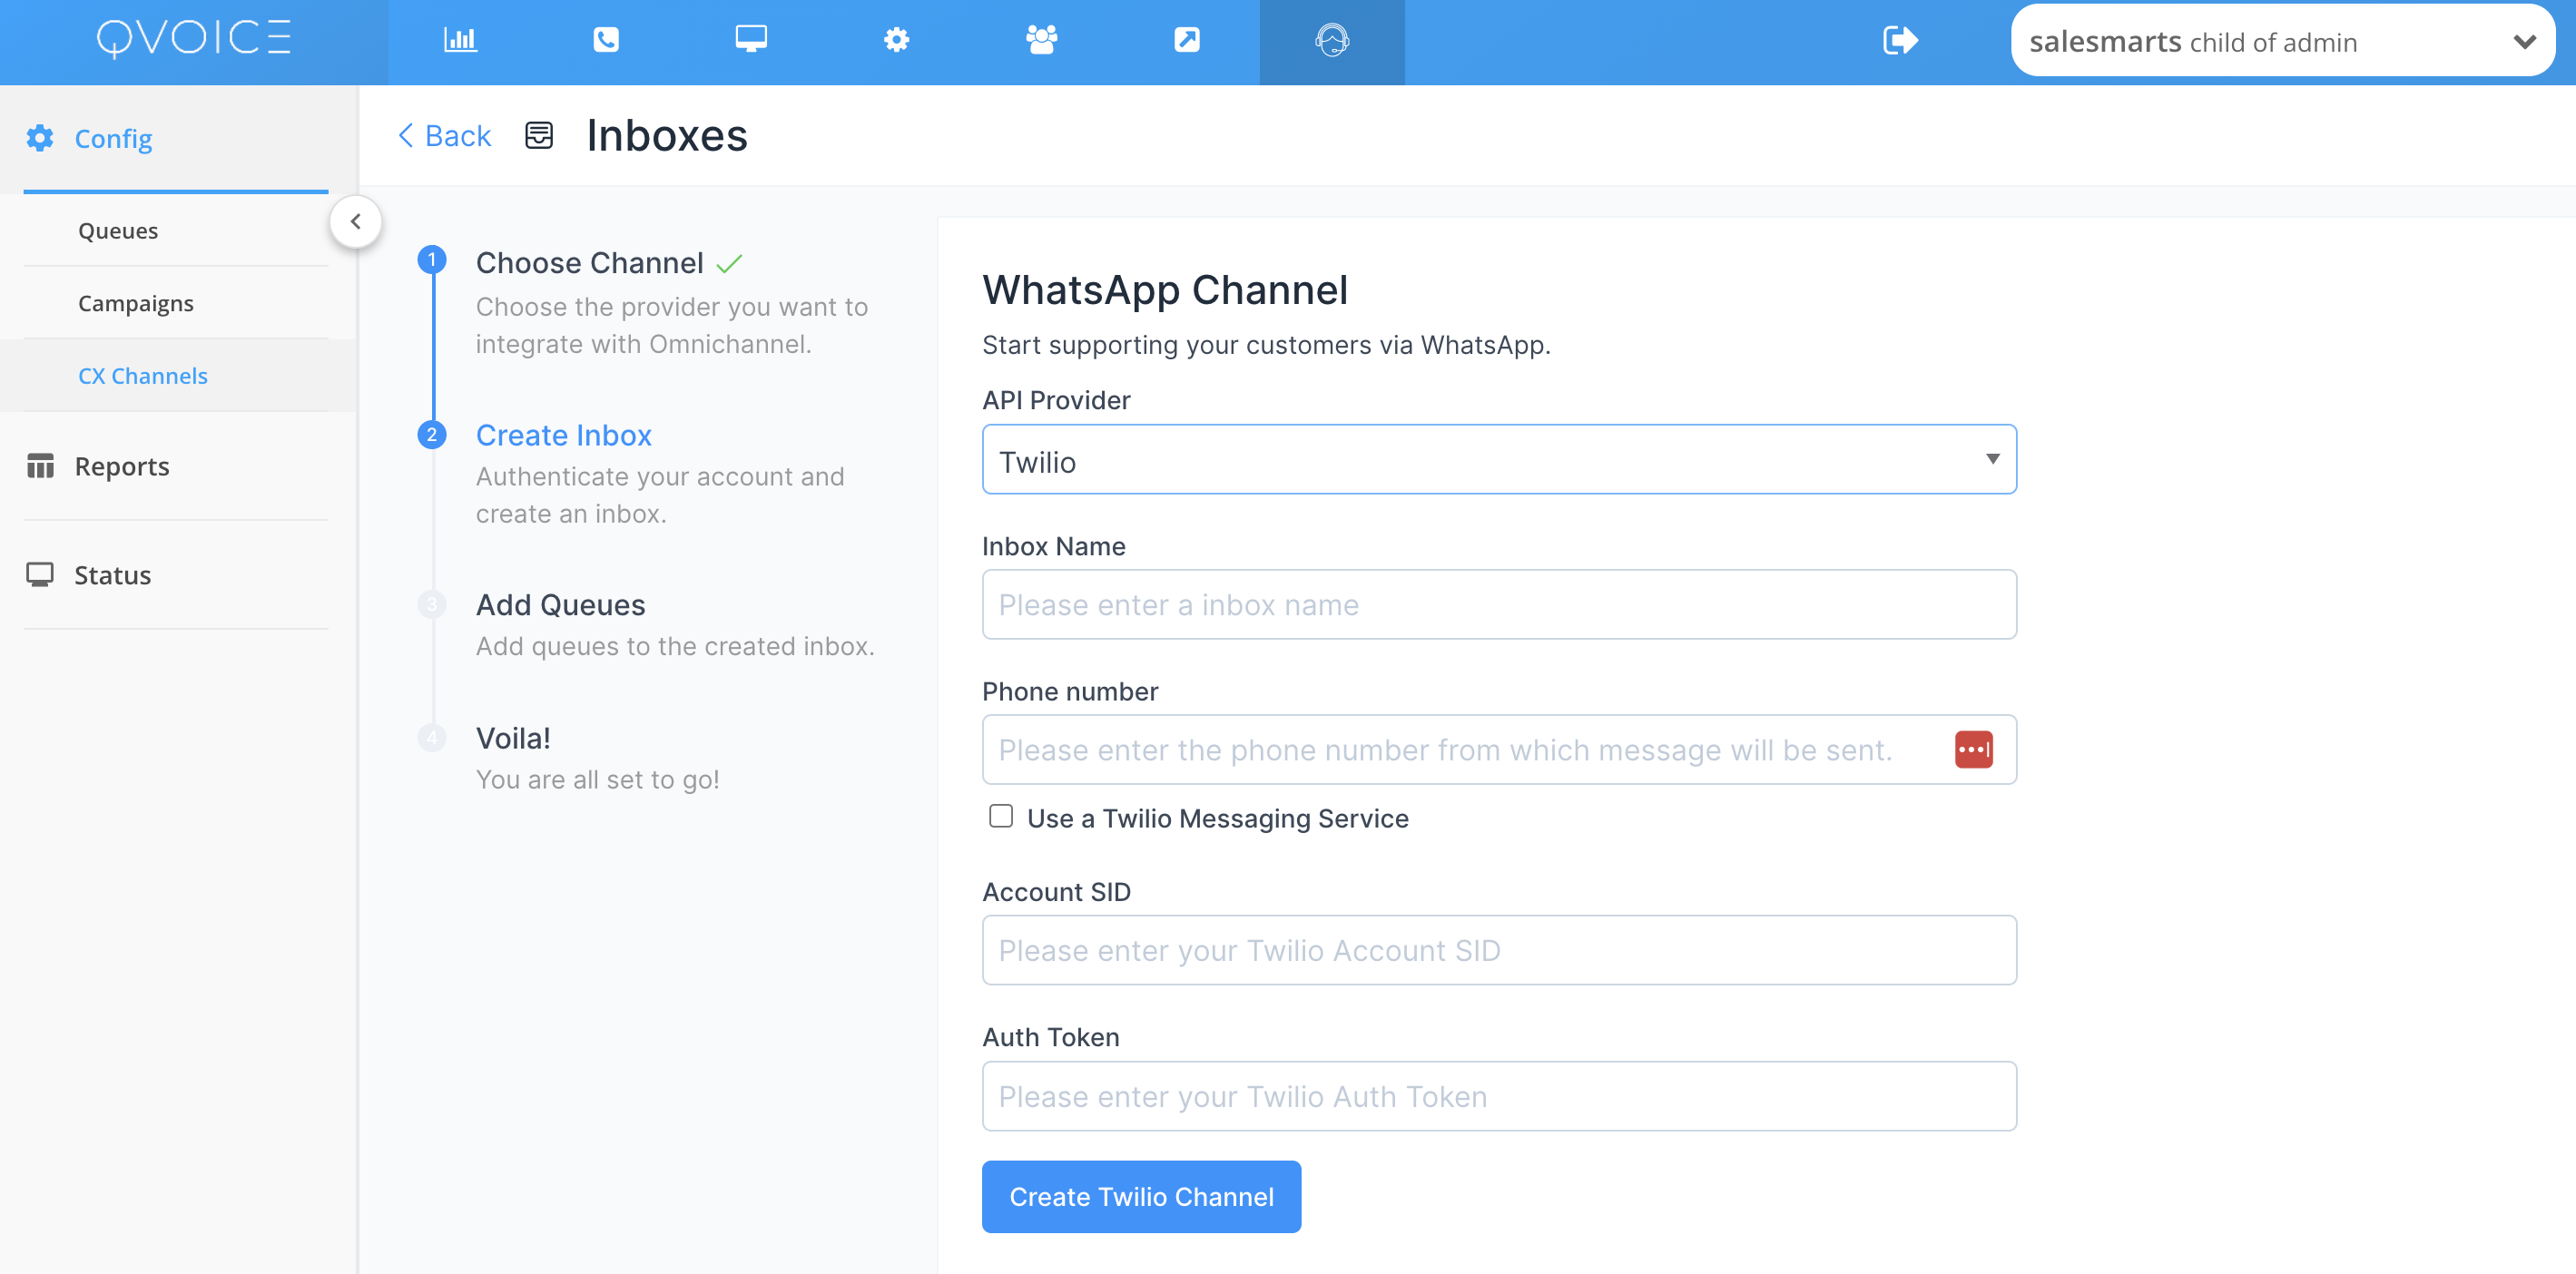
Step 3. Choose "Twilio" as the API provider. Fill in the appropriate details.
| Values | Description |
|---|---|
| Name | Choose a name for your Inbox. Ex: Your Business Name |
| Phone Number | Fill in the phone number you have configured in Twilio |
| Account SID | The Account ID obtained from Twilio |
| Auth Token | The Auth Token obtained from Twilio |
¶ Enable the webhook
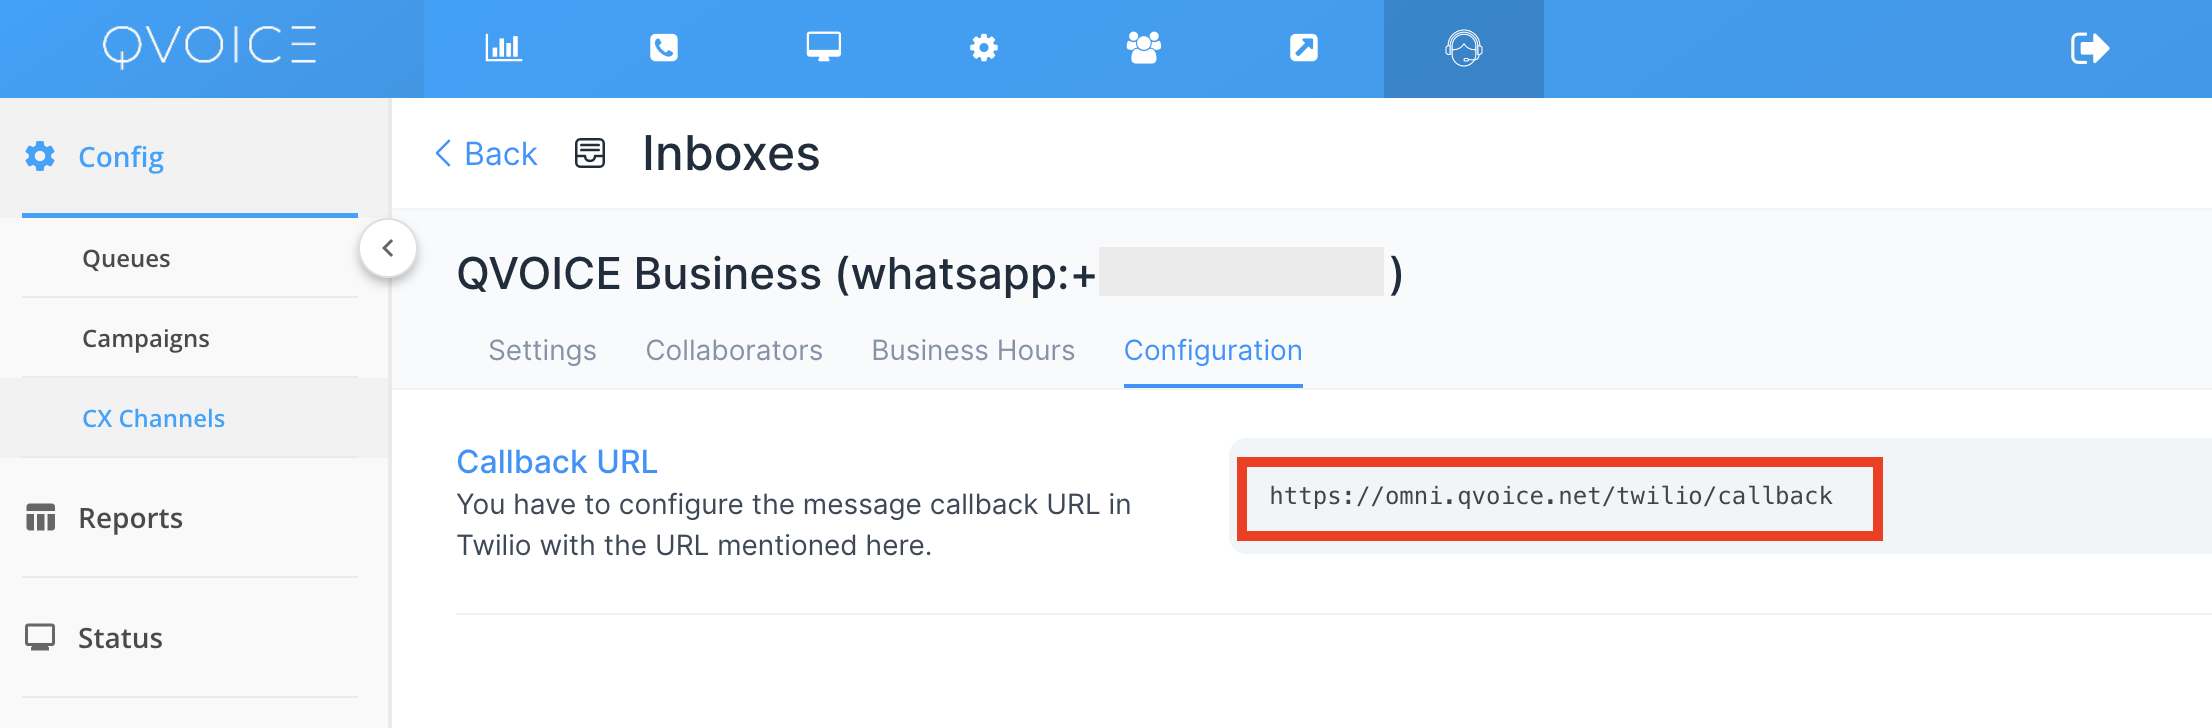
Configure the webhook in Twilio console
Copy the webhook URL from Whastapp inbox created. The value for the URL should be the same URL you obtained at the end of your QVOICE CX inbox creation and will look like https://omni.qvoice.net/twilio/callback
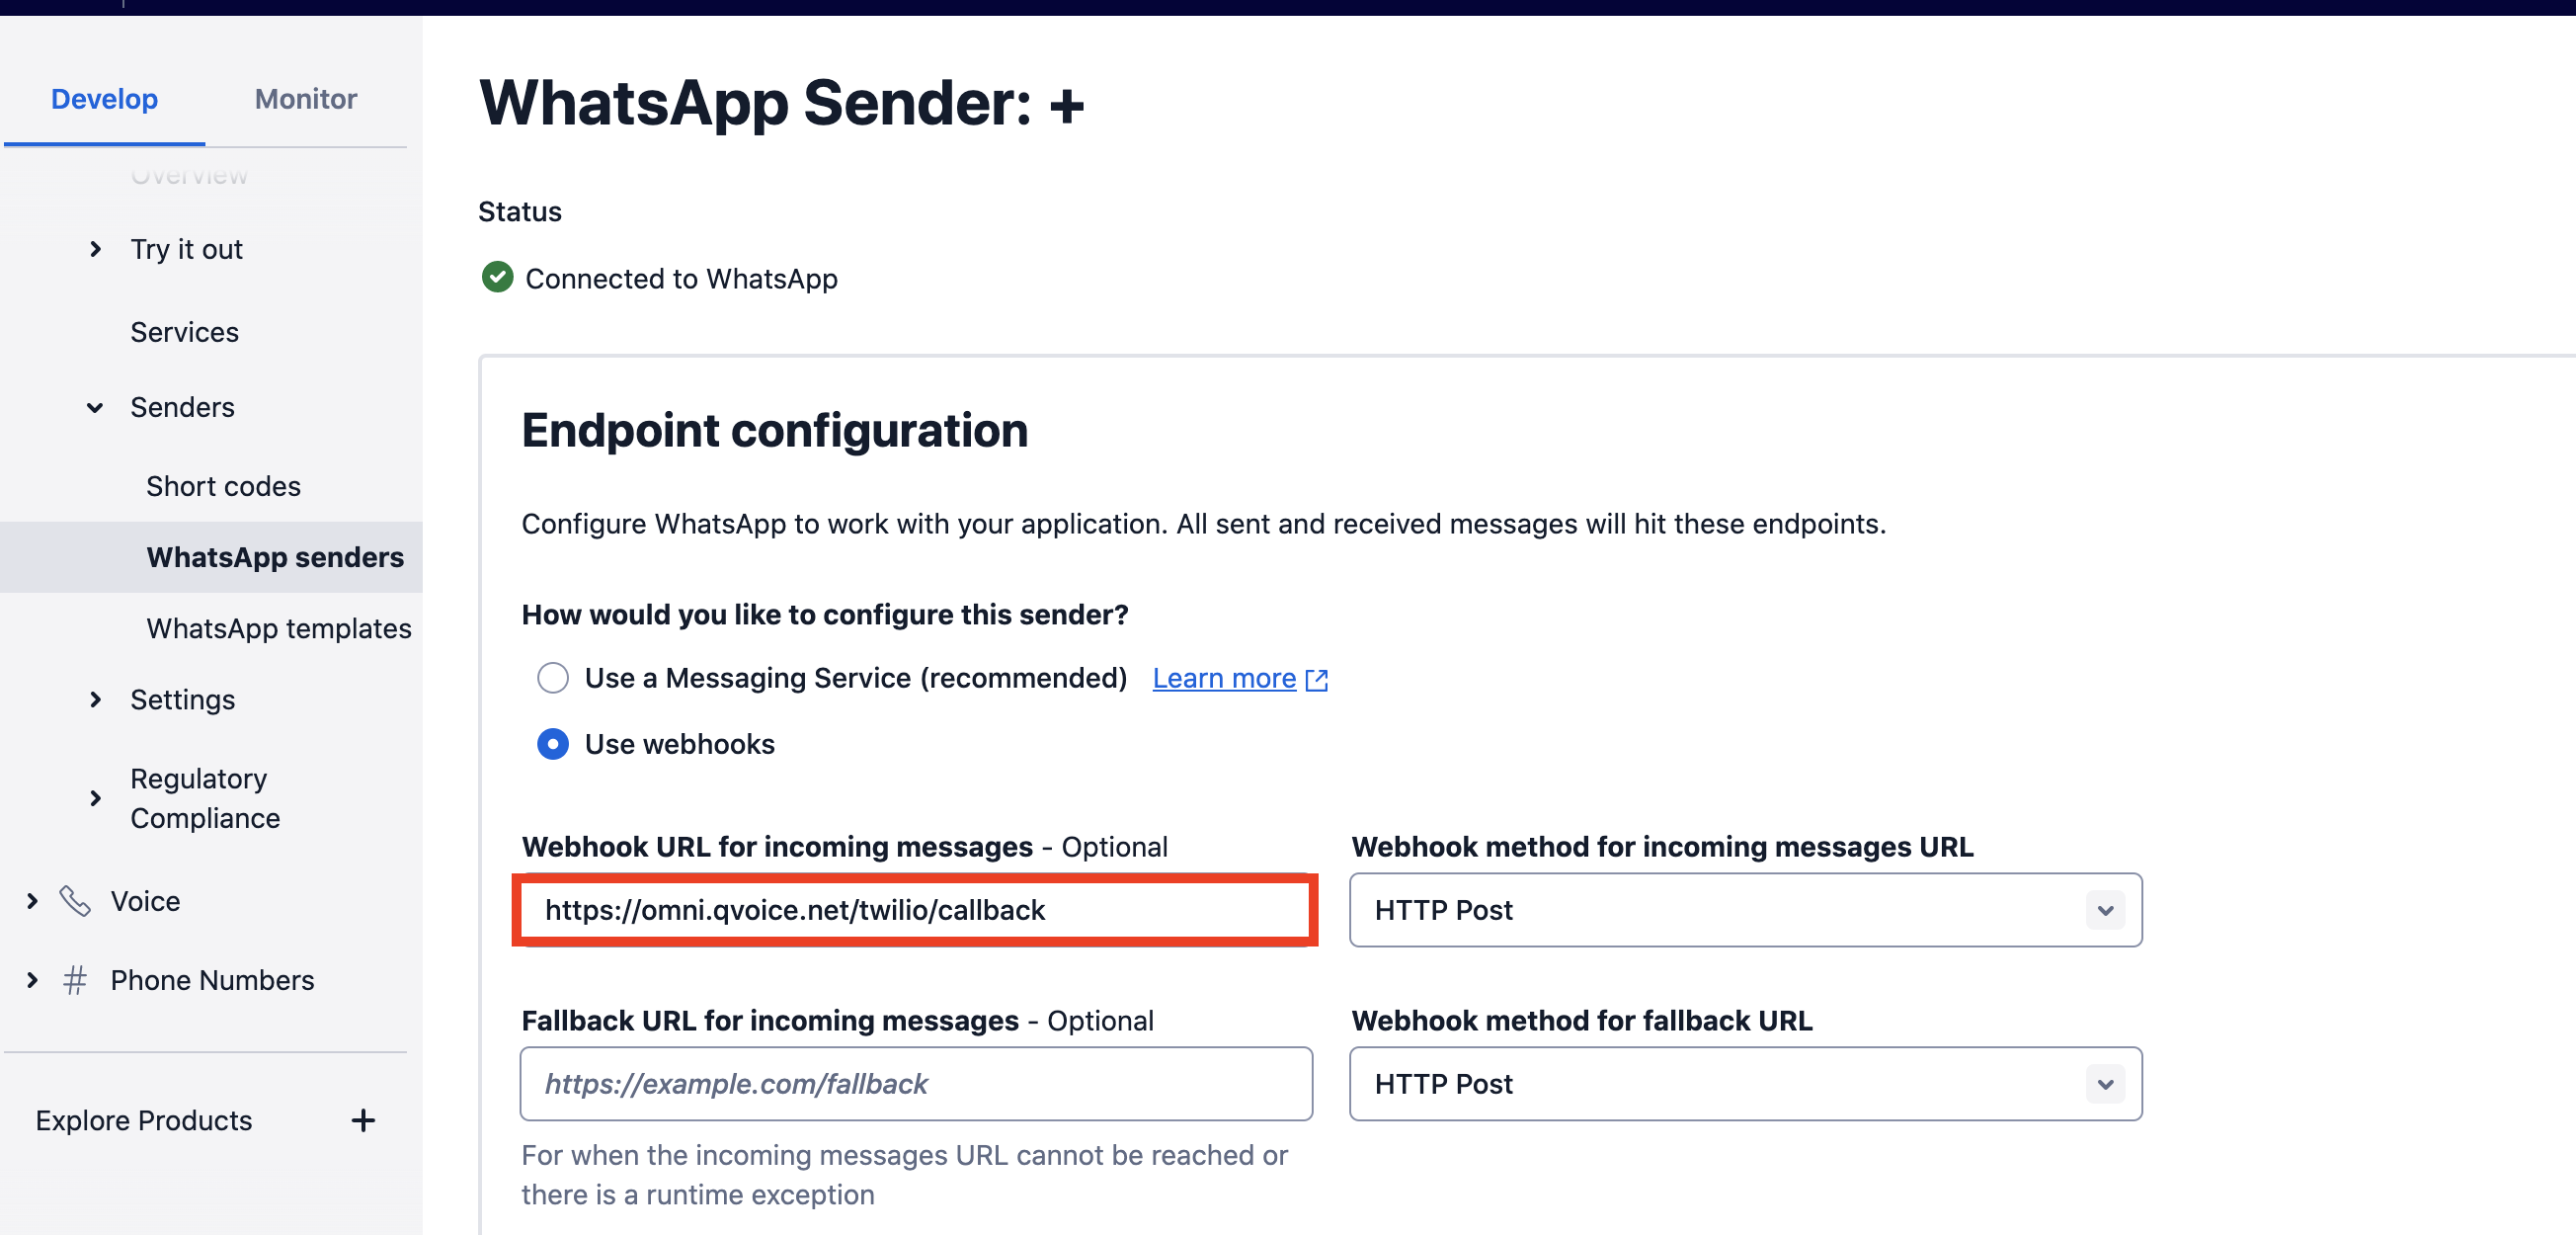
Set Callback URL to twilio WhatsApp Sender
¶ Additional Inbox settings
Your freshly configured WhatsApp inbox should now appear in your list of inboxes. To see this and to make additional settings in your WhatsApp inbox, go to Settings → Inboxes → click the gear icon on the associated WhatsApp inbox.
All the Additional Settings available are the same as those in your Twitter inbox. We recommend going through this link to understand the same.